Bernard’s Wooden Gate. (27)

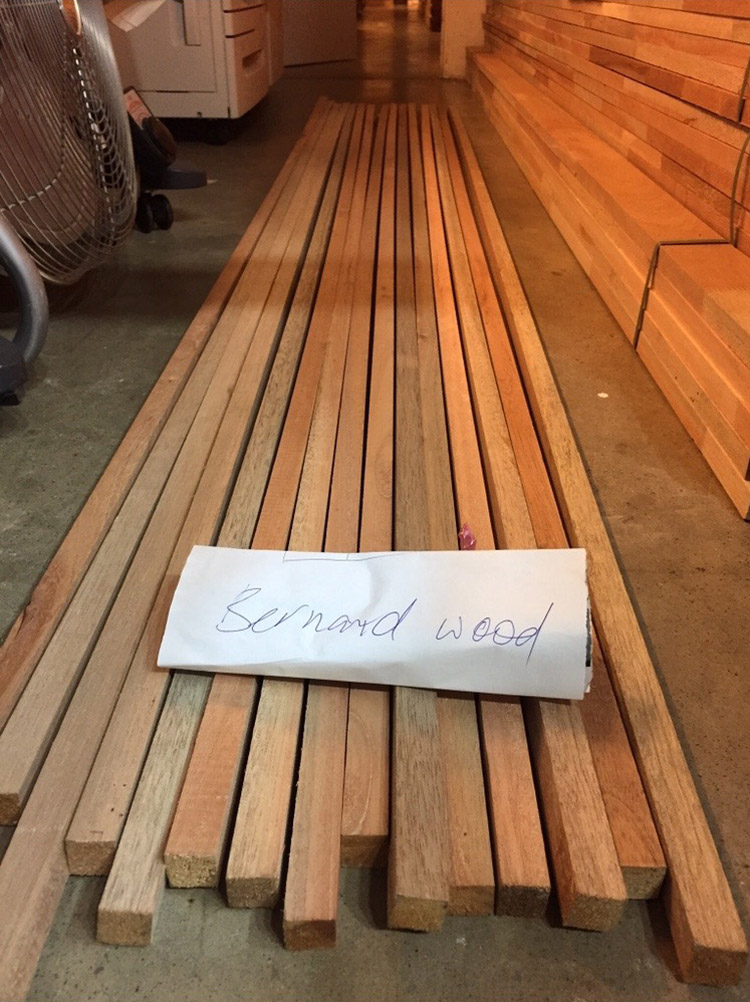
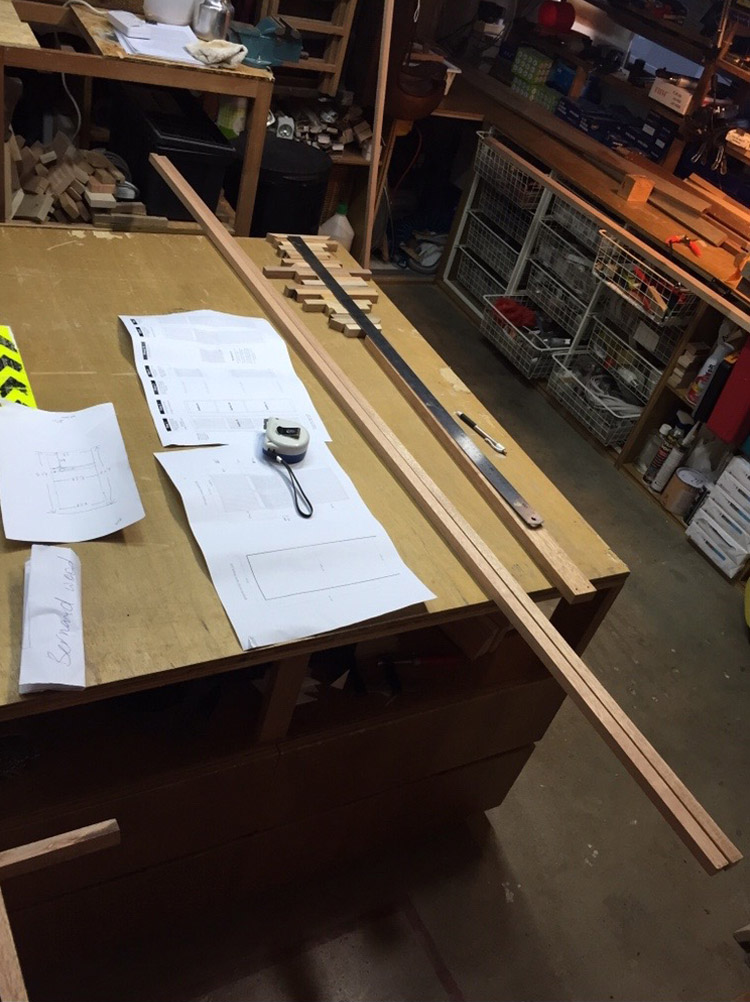
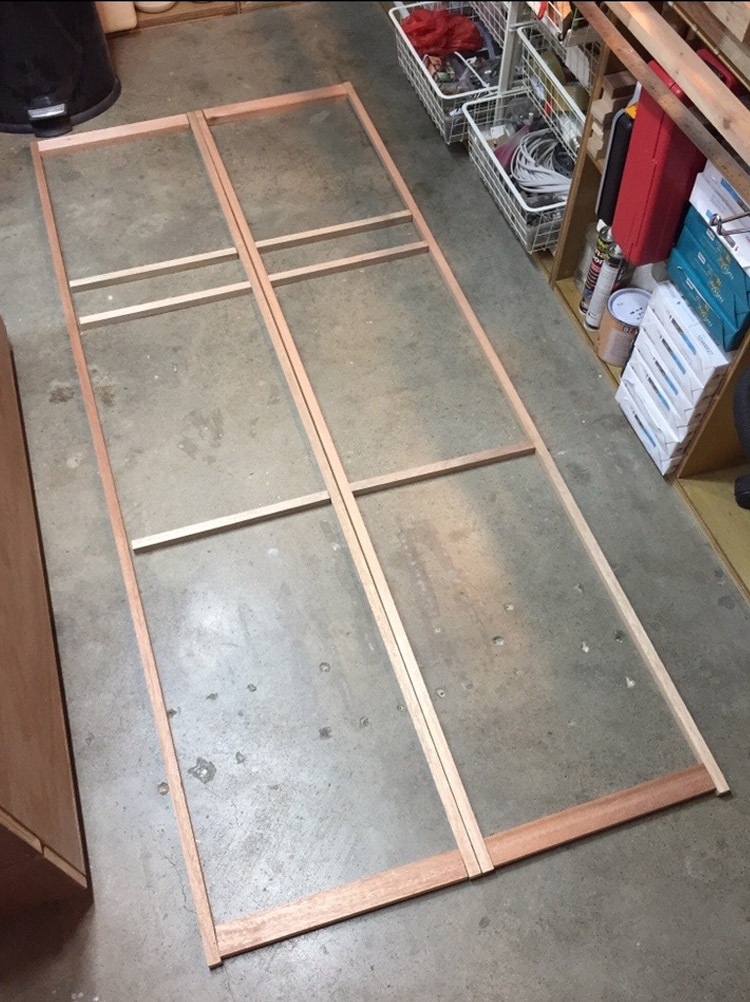
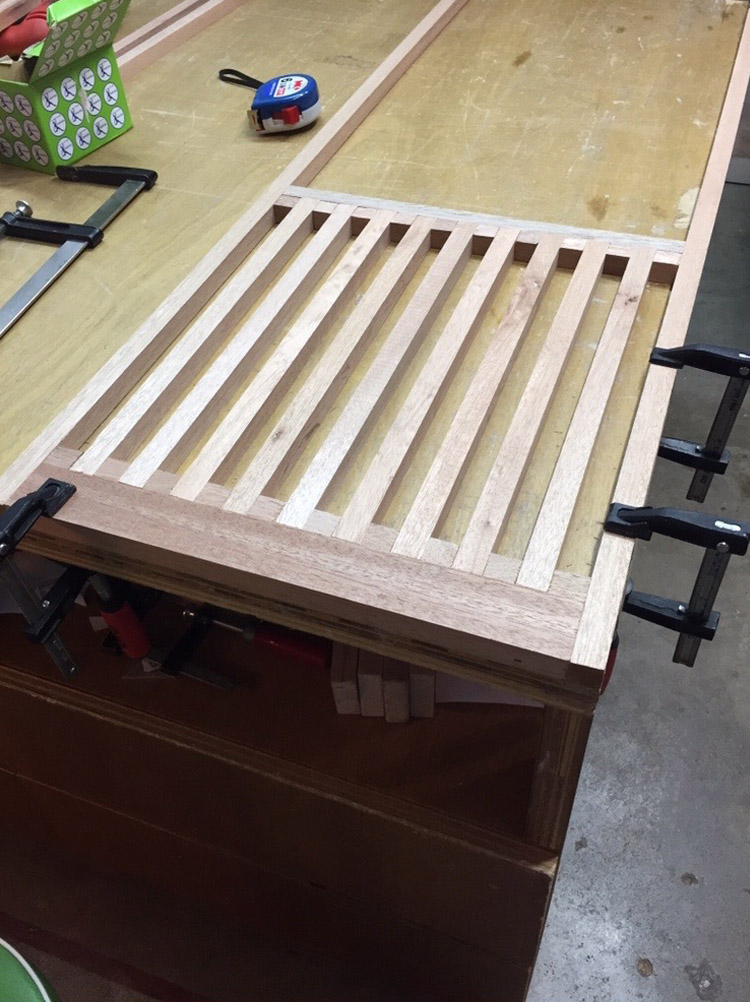
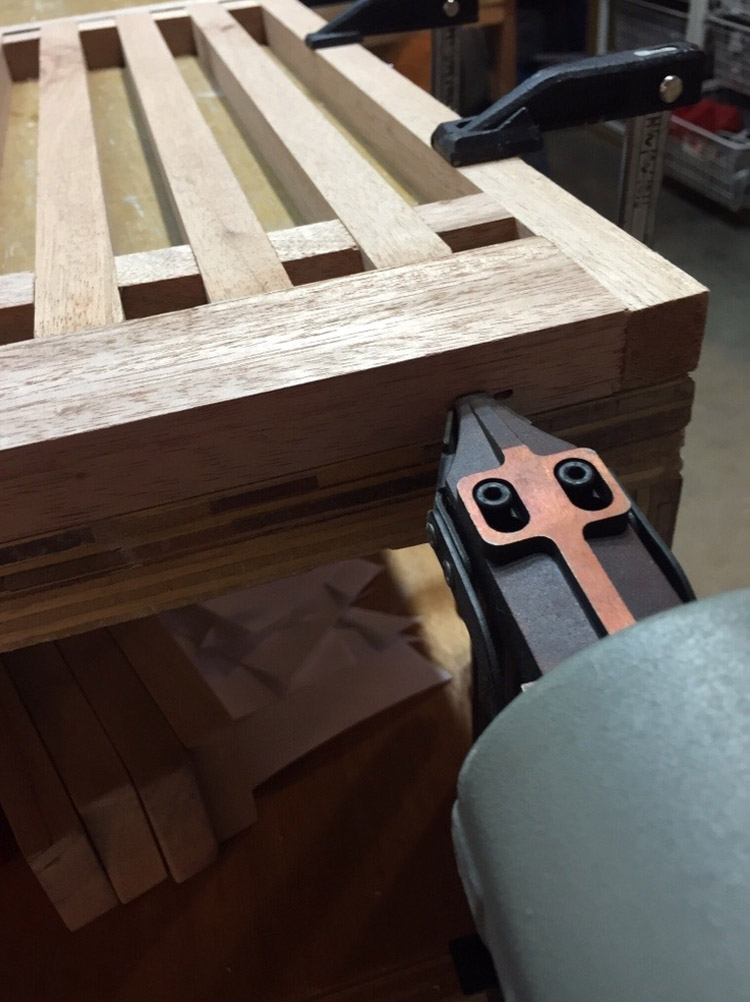
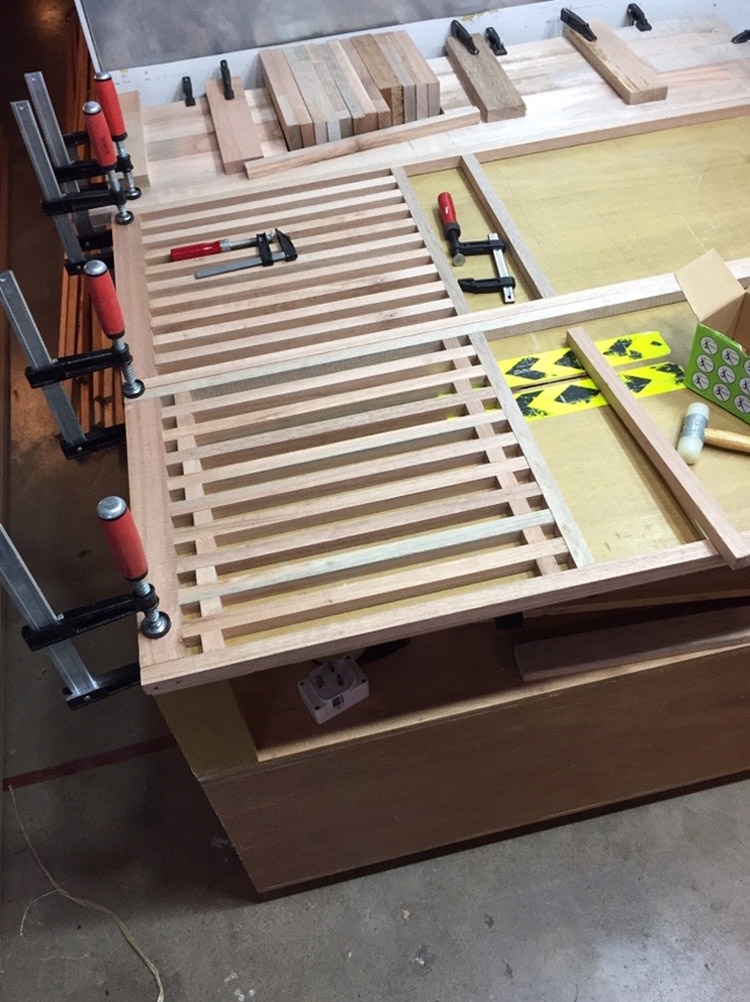
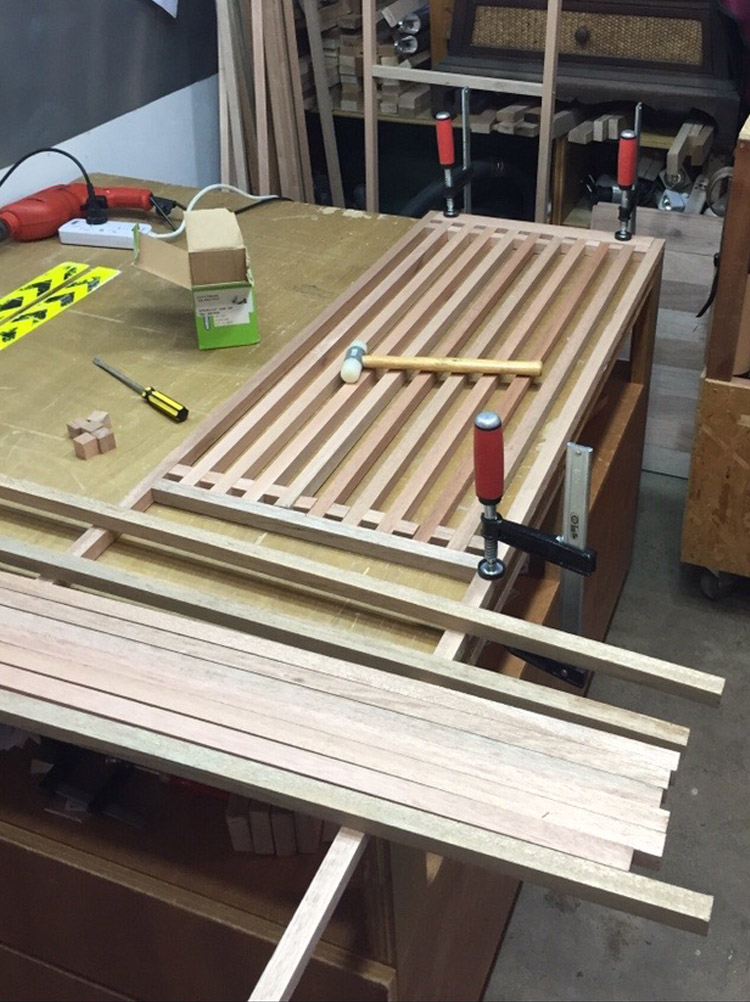
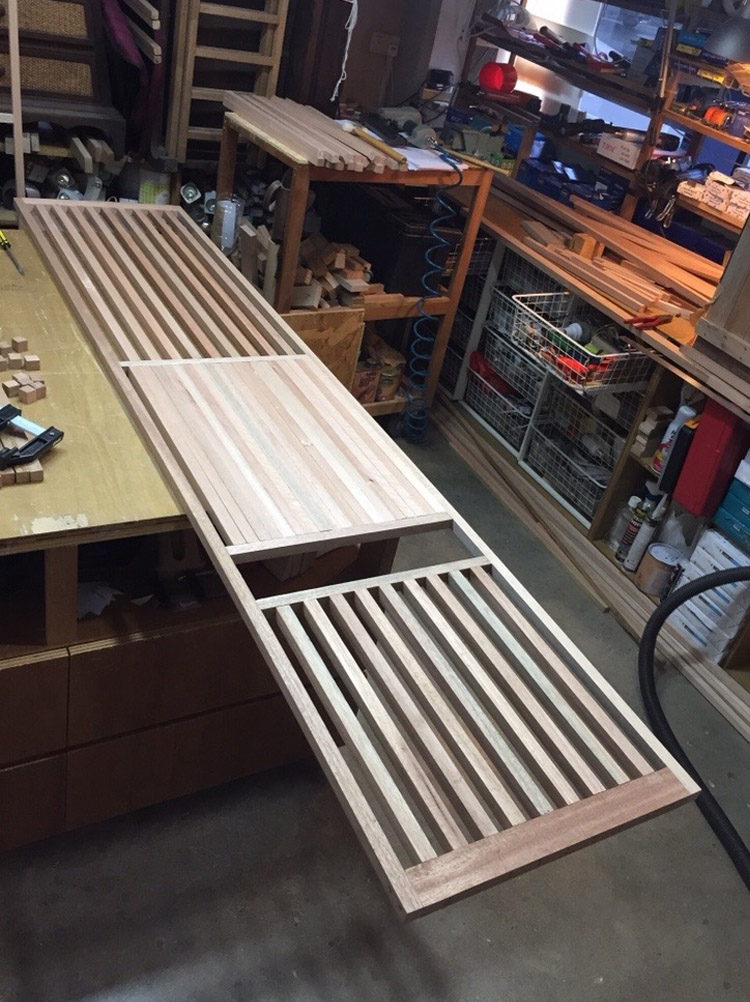
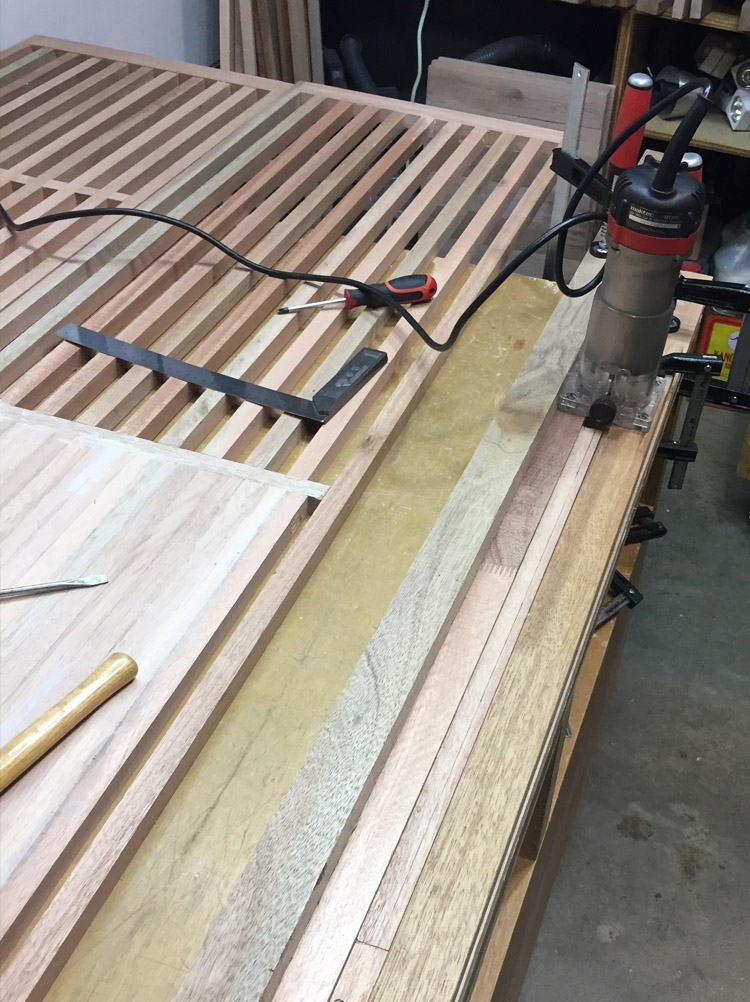
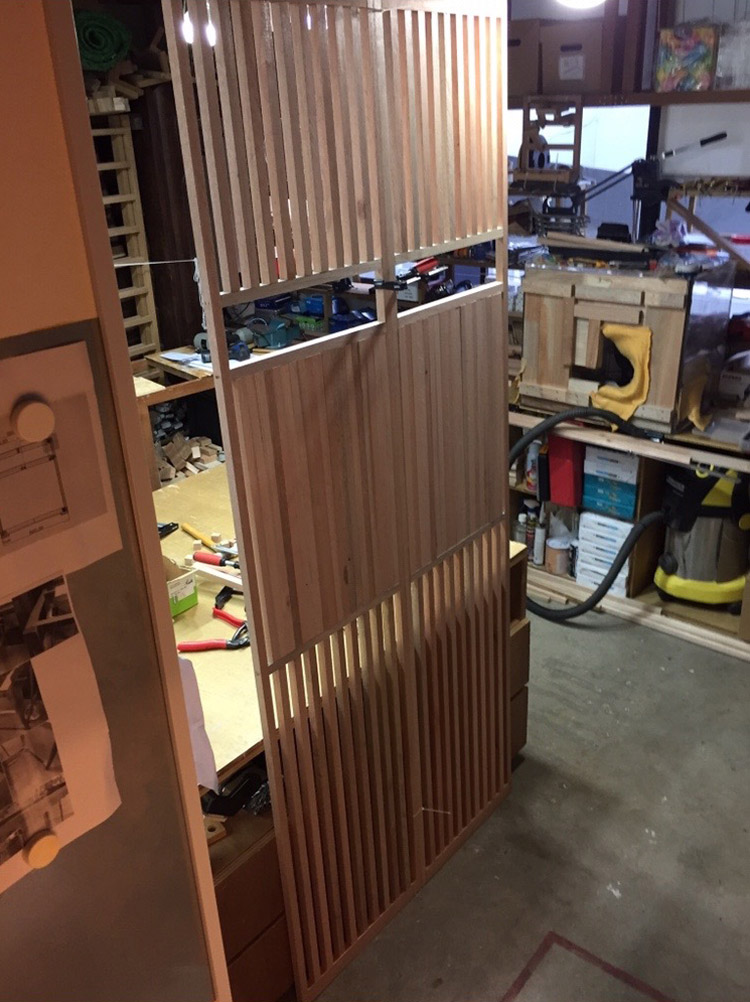
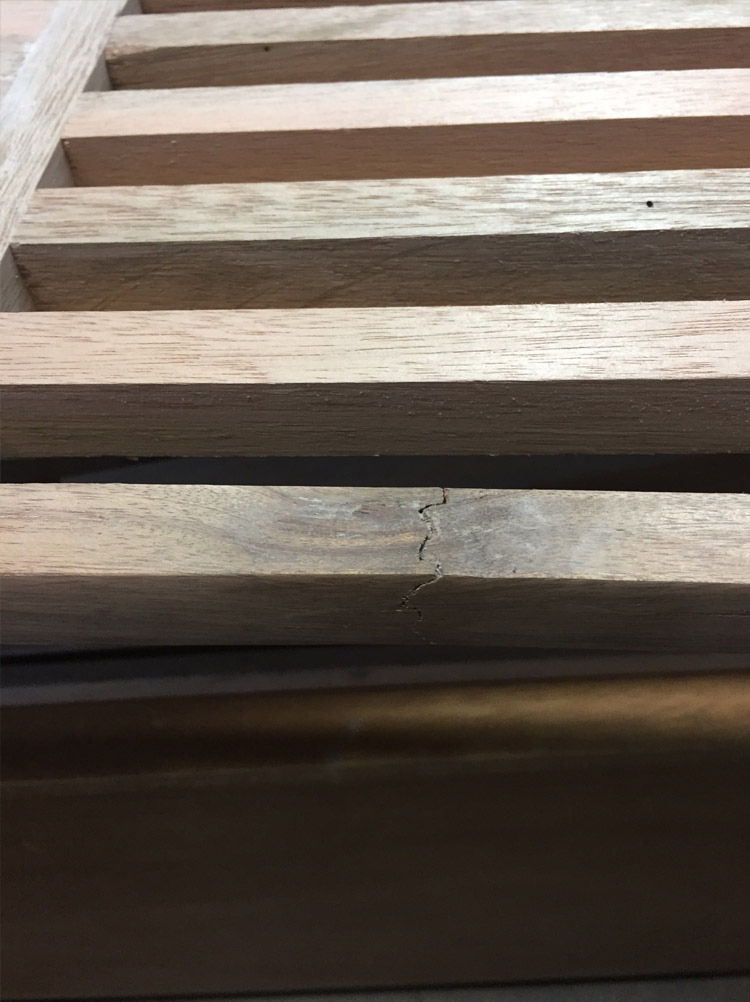
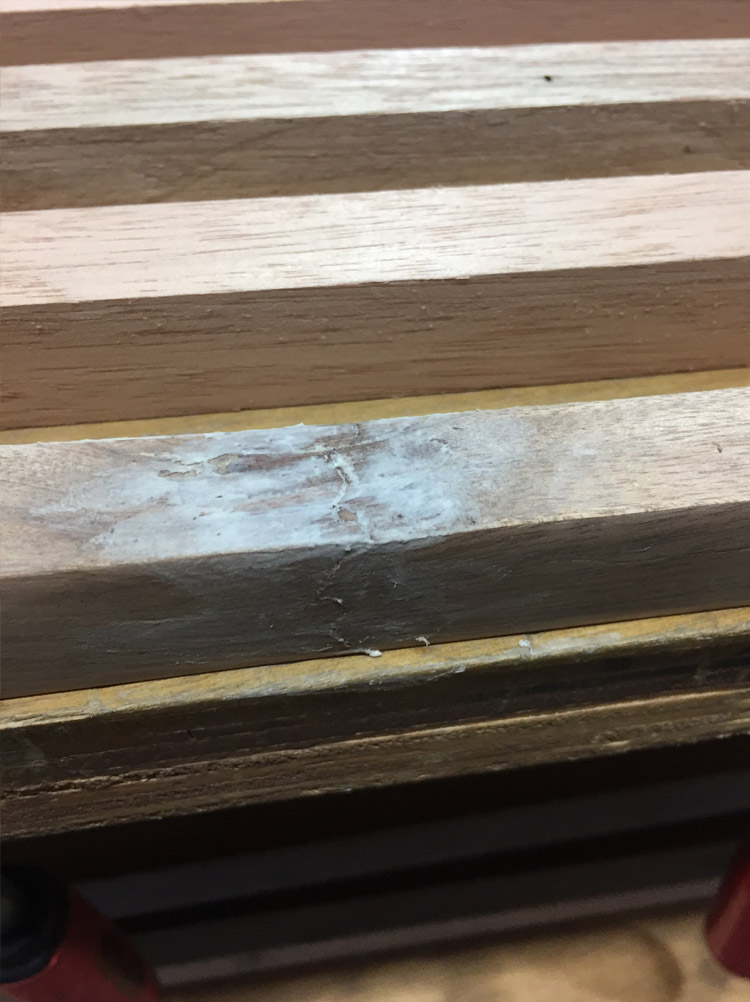
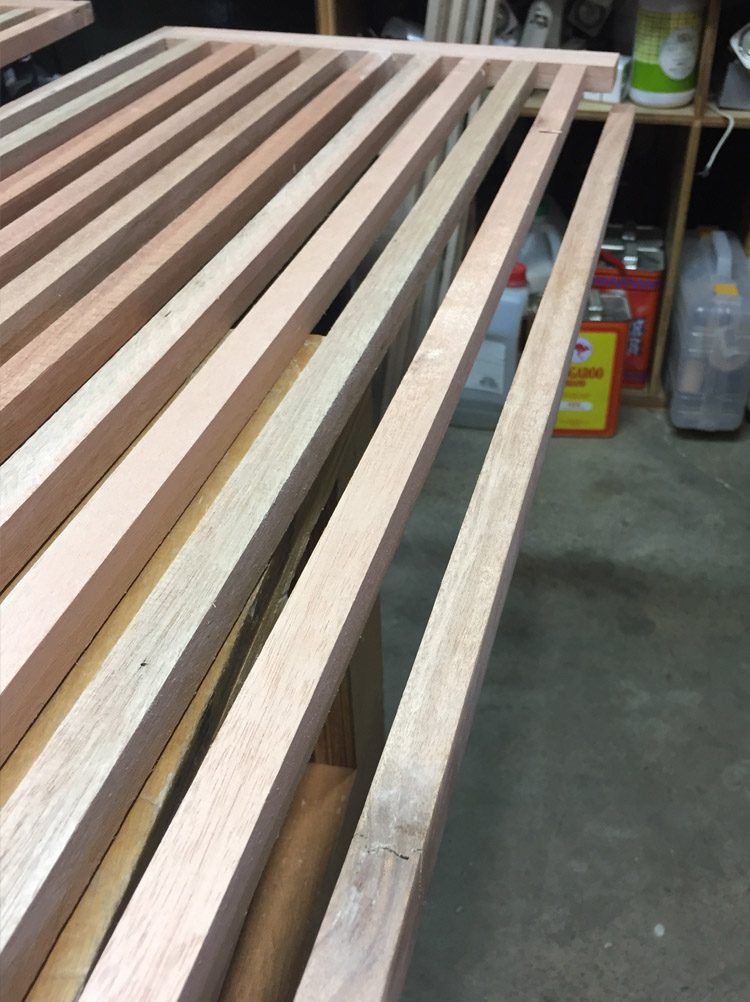
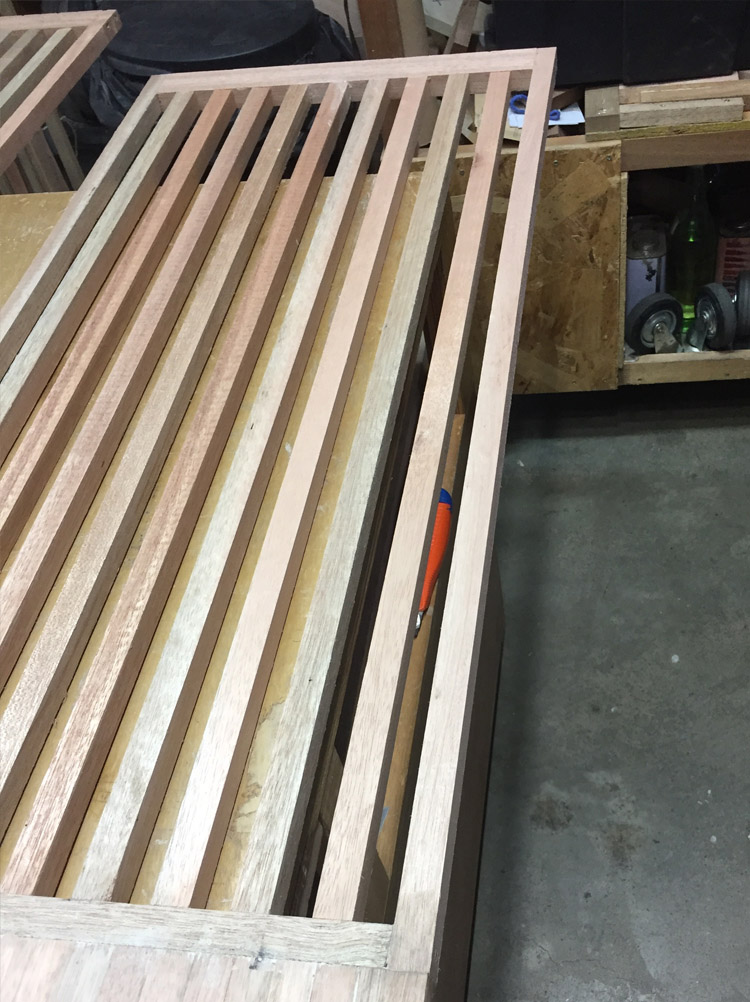
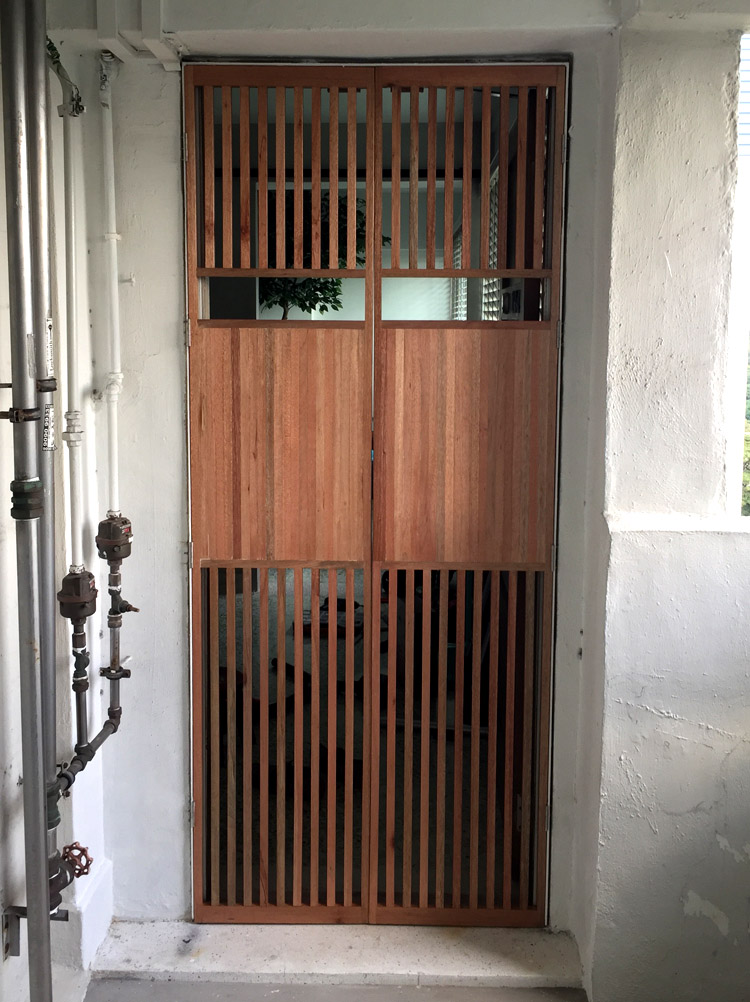
Selecting the right wood strips

Refer to drawings
Refer to drawings.

Cut and positioning the outer frame
Cut and position the outer frame.

Securing it with the longest screw!
Securing it with a 6X4″ screw.

Then cut and position the base vertical strips
Cut and position the vertical base strips with spacers.

Air nailed into position
Air nailed into position.

Repeat for the other side
Repeat it for the other side.

After securing the middle strip then repeat it for the top side
After securing the base strip repeat it for the top side.

Once the top is secured then glue the middle part altogether
Once the top is secured then glue the middle part altogether.

The last piece needs to be trimmed by a wood router.

Repeat it for the other side
Repeat it for the other side.

And then glue the last piece onto it
And then glue the last piece into it.

Wait till it dry up and then varnish 3 layers to it
Wait till it dries up and then varnish 3 layers to it.

This happened before I finish varnishing
Problems: This happened before varnish.

At first I tried to glue it back together but it failed
Gluing it back together but it failed to hold.

So I cut the whole bottom piece away
Cut the problem piece away.

Then I rejoined a new piece
Then rejoined a new piece.

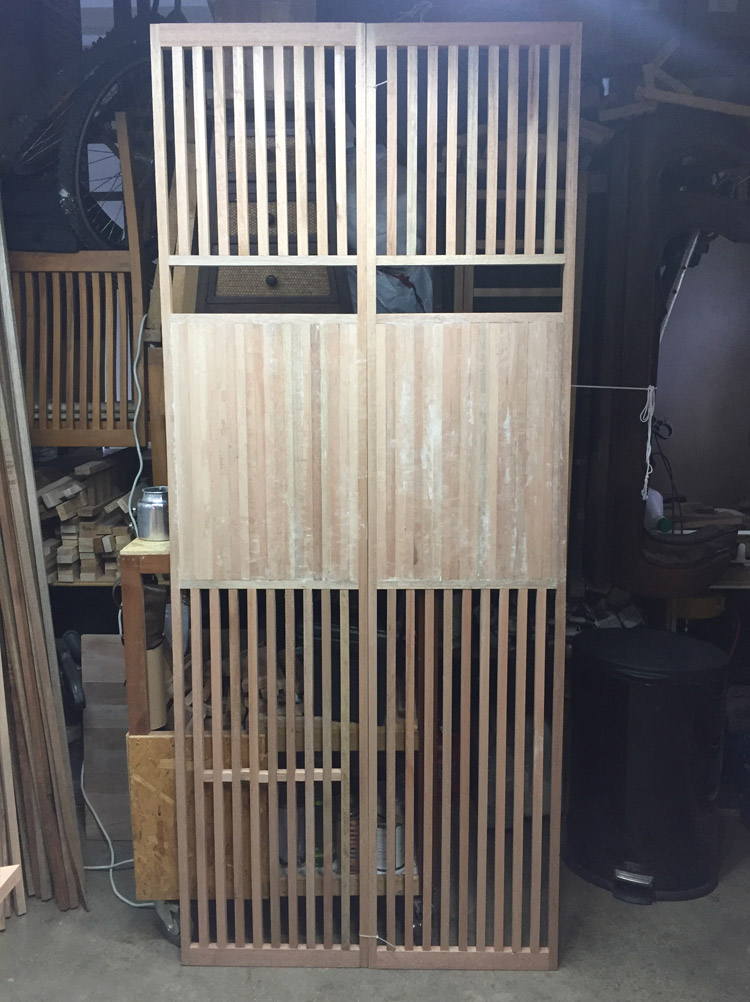
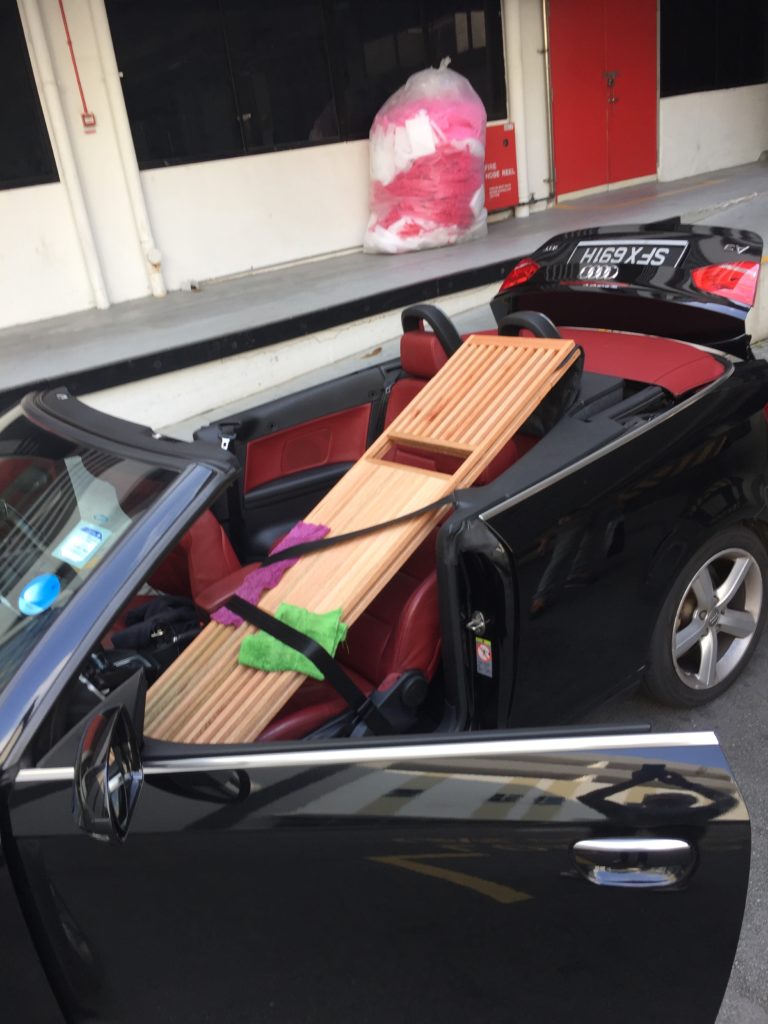
Transporting the 2 wooden gates. 
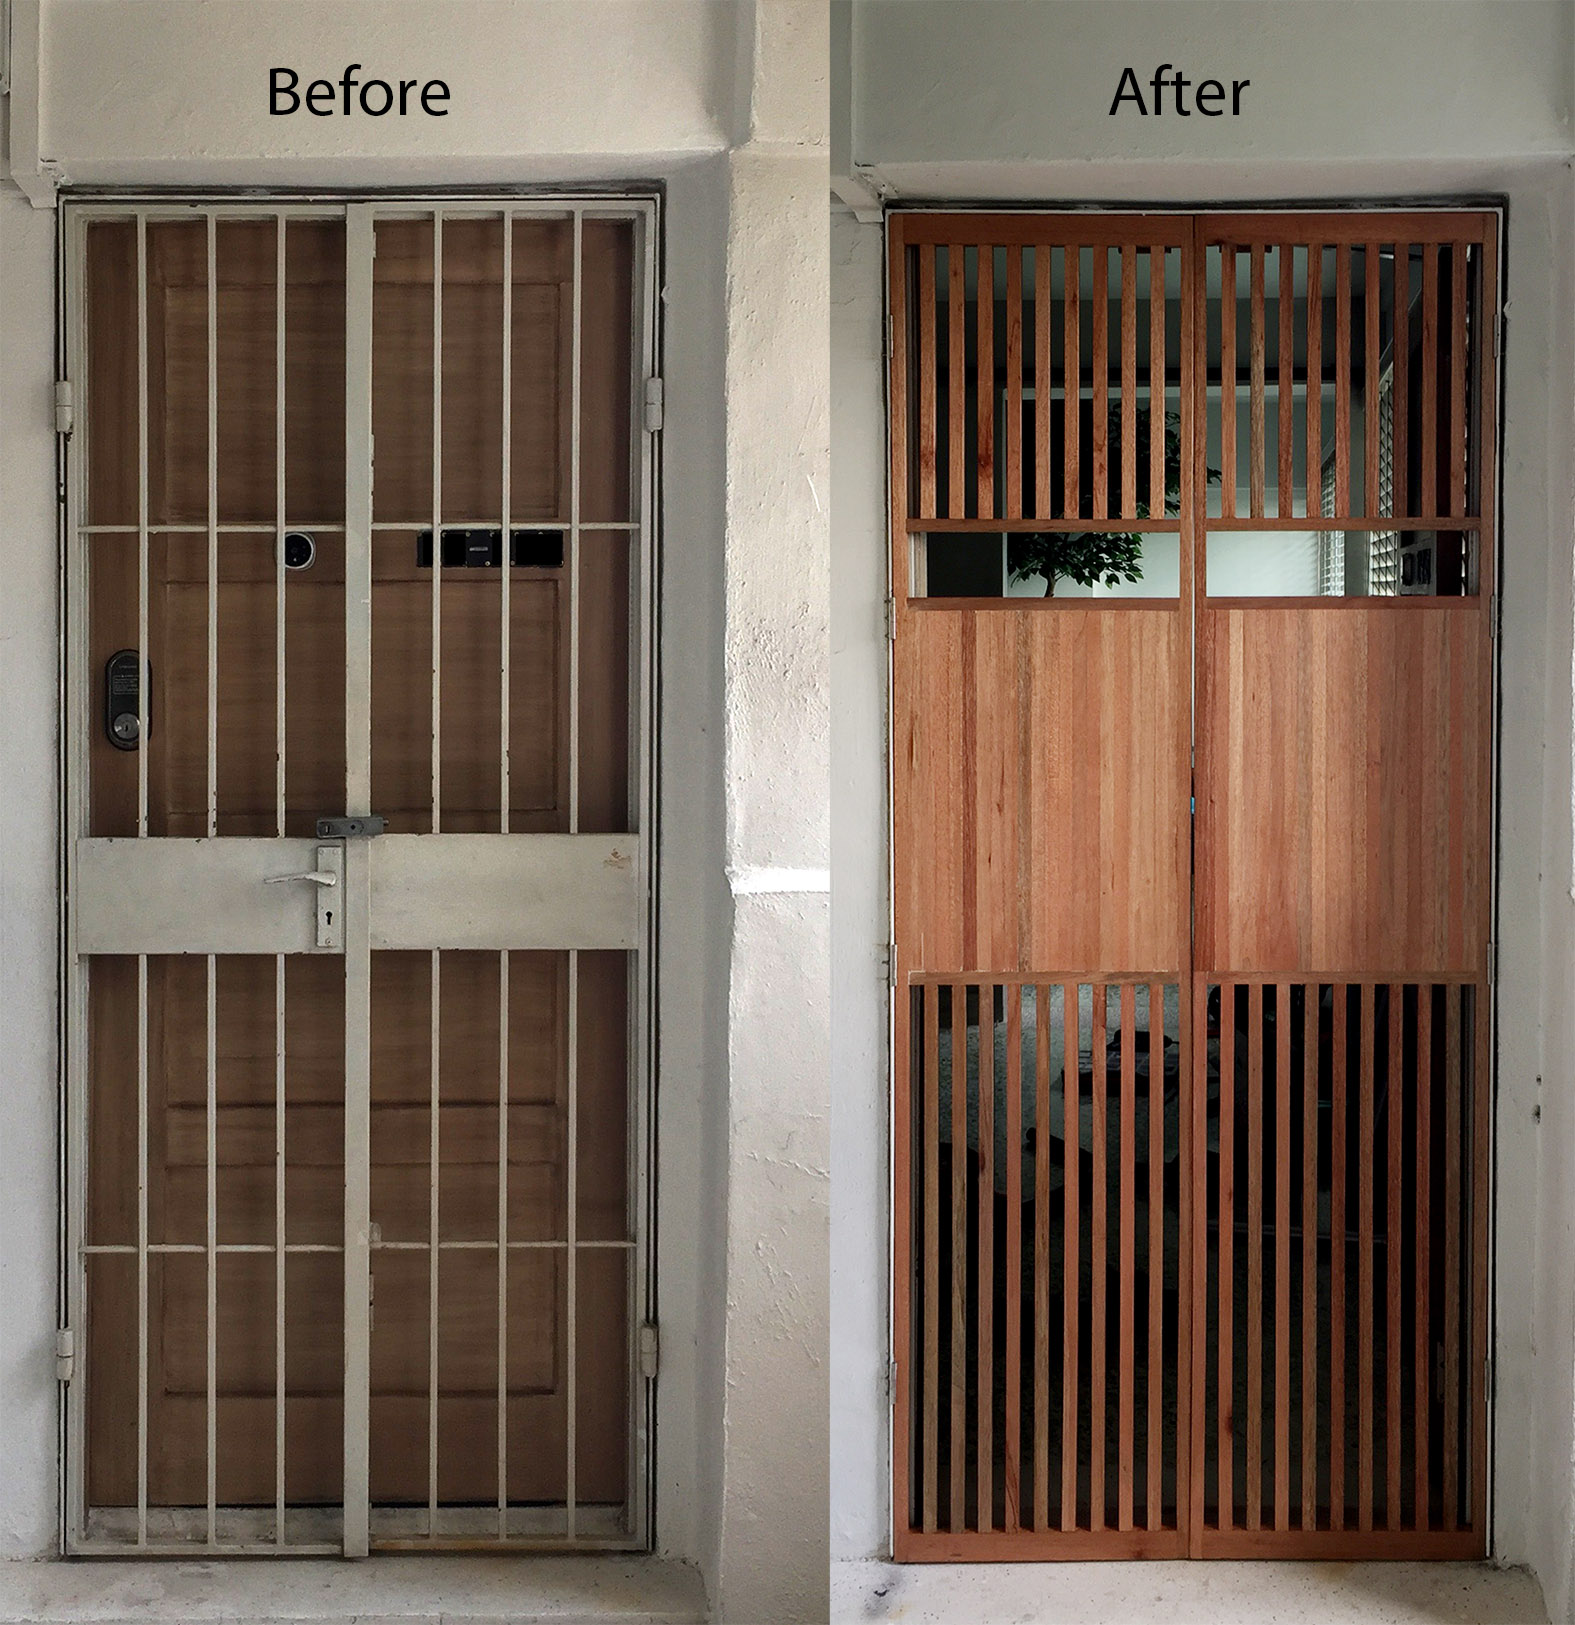
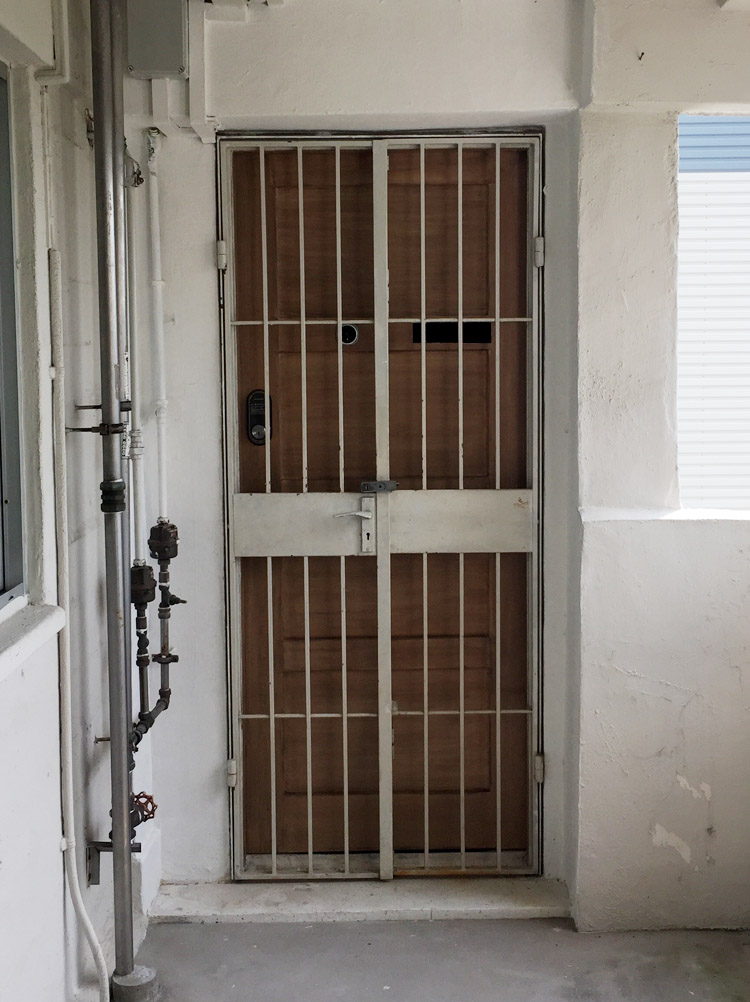
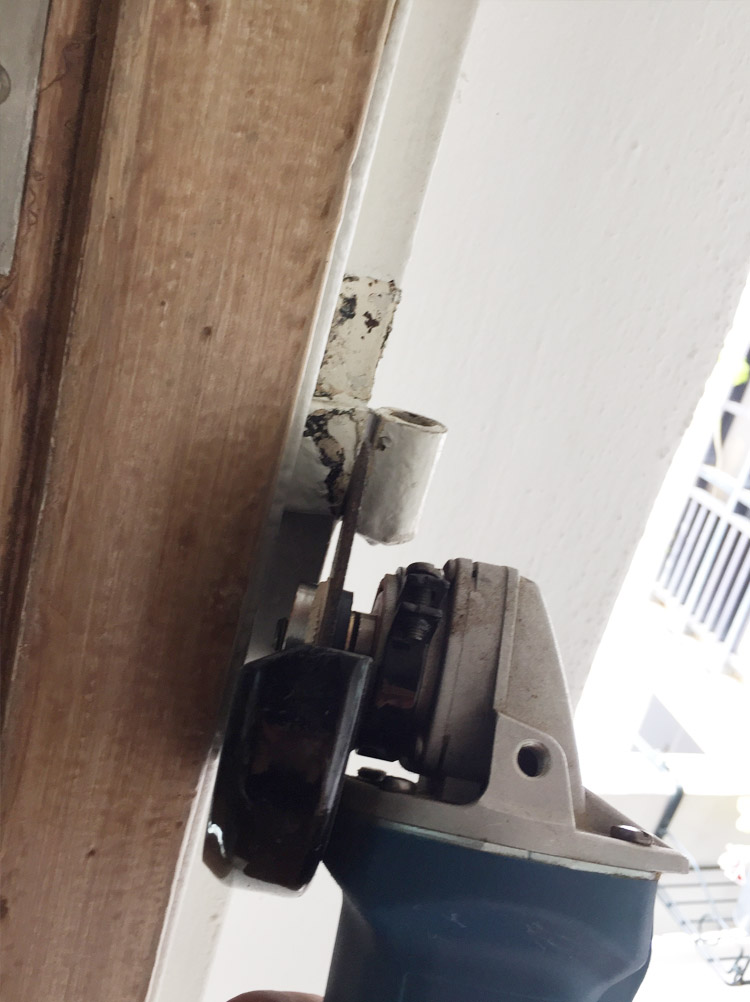
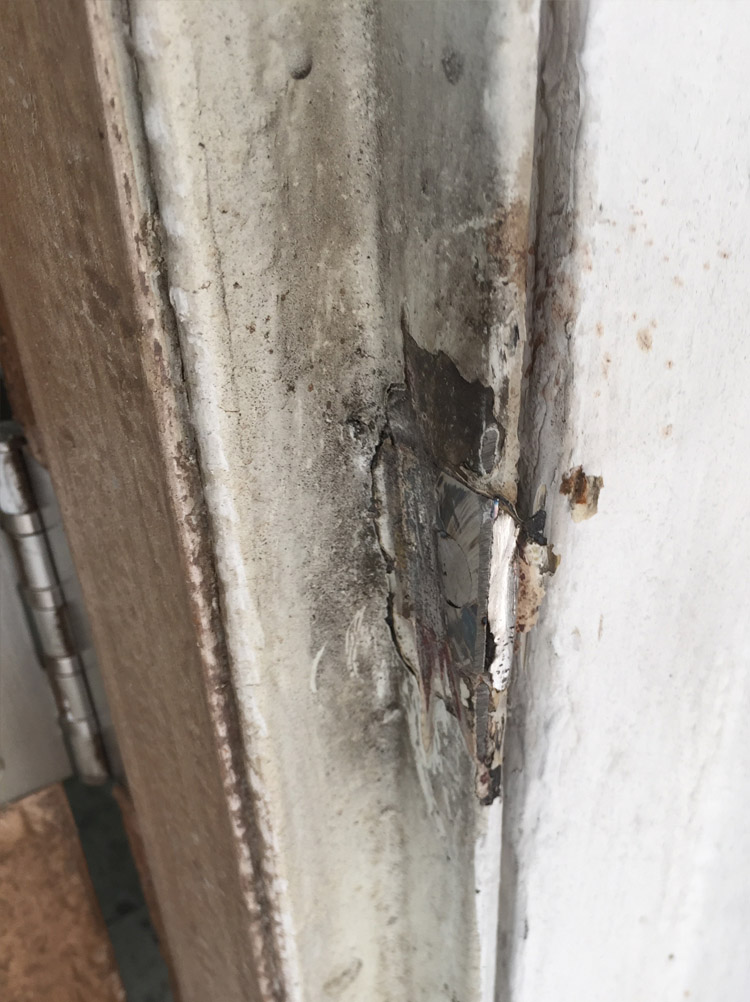
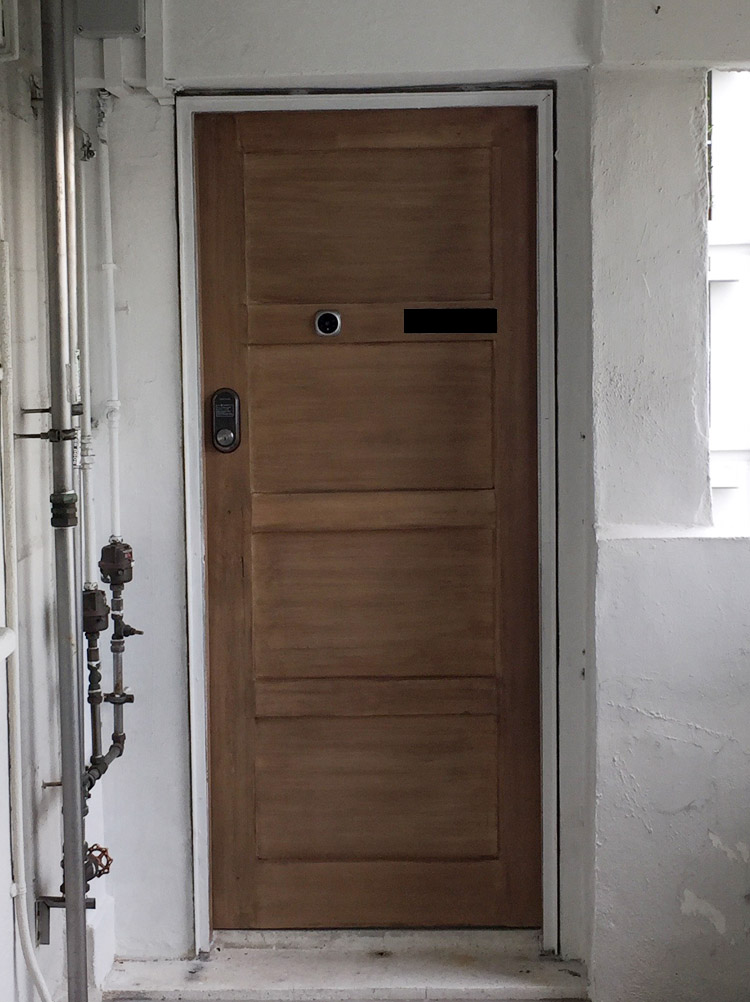
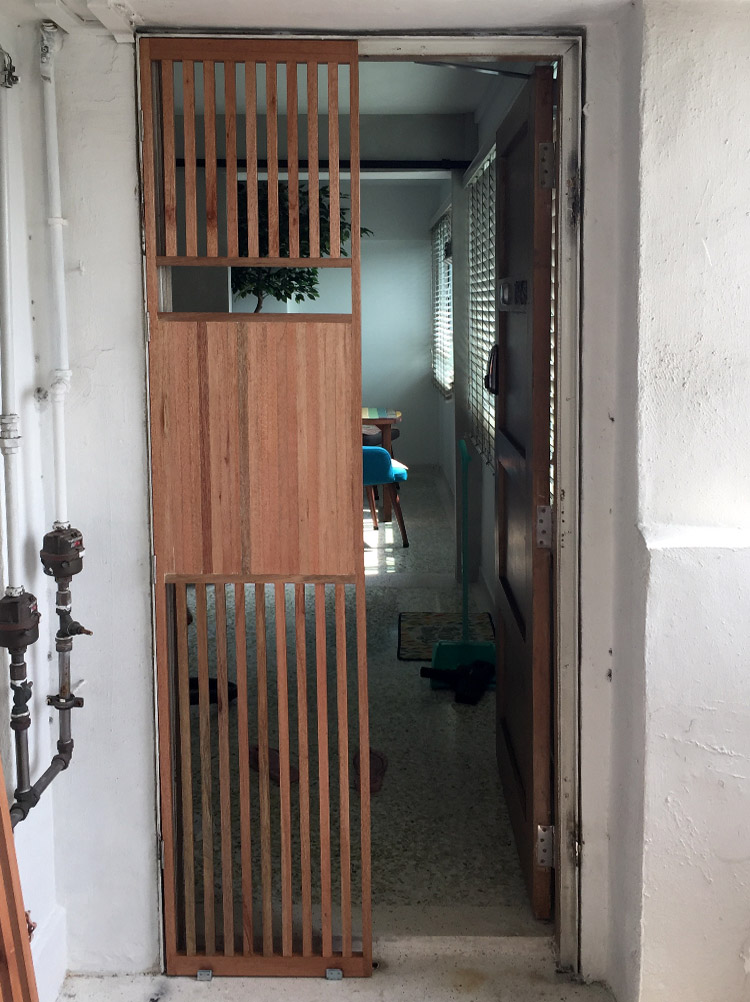
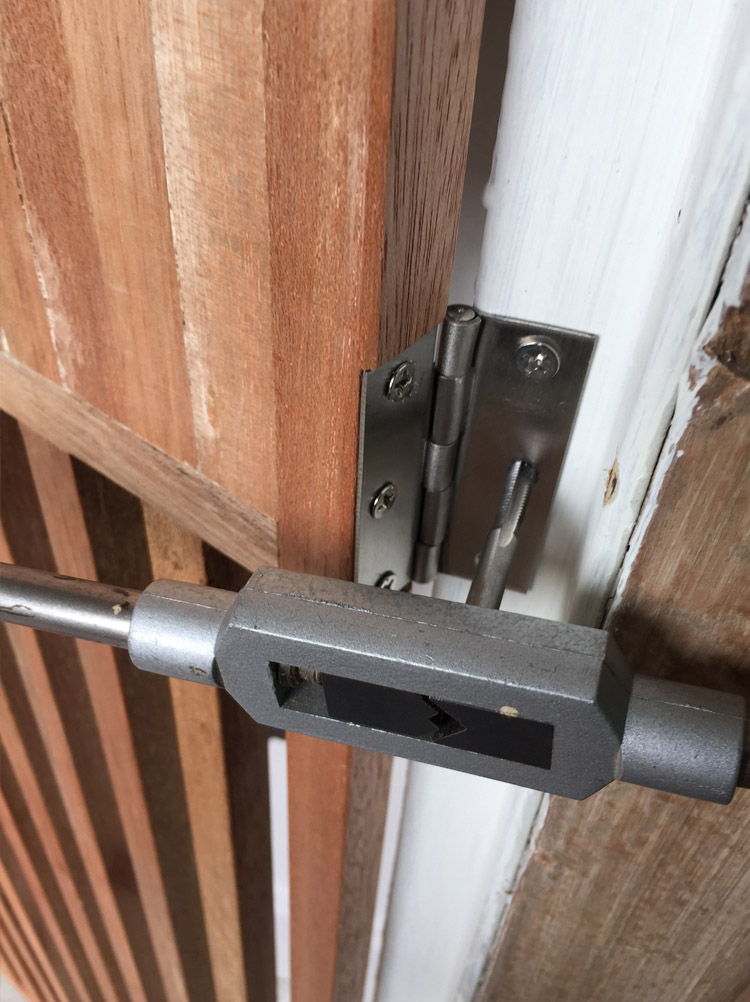
Old gate
Take out the old gate.

Positing one side of the new wooden gate
Cut away the old iron hinge.

And grind to flatten it
And grind to flatten it.

Took out the old gate and leave the metal frame intact.
Leave the old iron frame intact and paint it before installing the new ones.

Positing one side of the new wooden gate
Position one side of the new wooden gate.

Fixed hinge onto the wooden gate before installation. Mark and drill holes and then tap thread for flatted screw
Fixed hinge onto the wooden gate before installation. Mark and drill holes and then tap thread for the flatted screw.

Repeat it for the other side and then done!
Repeat it for the other side and then done.

B Message

Leave a Reply

Your email address will not be published. Required fields are marked *